

Managing LinkedIn invitations
The Invitations screen handles the connection invitations of your LinkedIn accounts without you having to open LinkedIn: accepting, rejecting and canceling all happen right here.
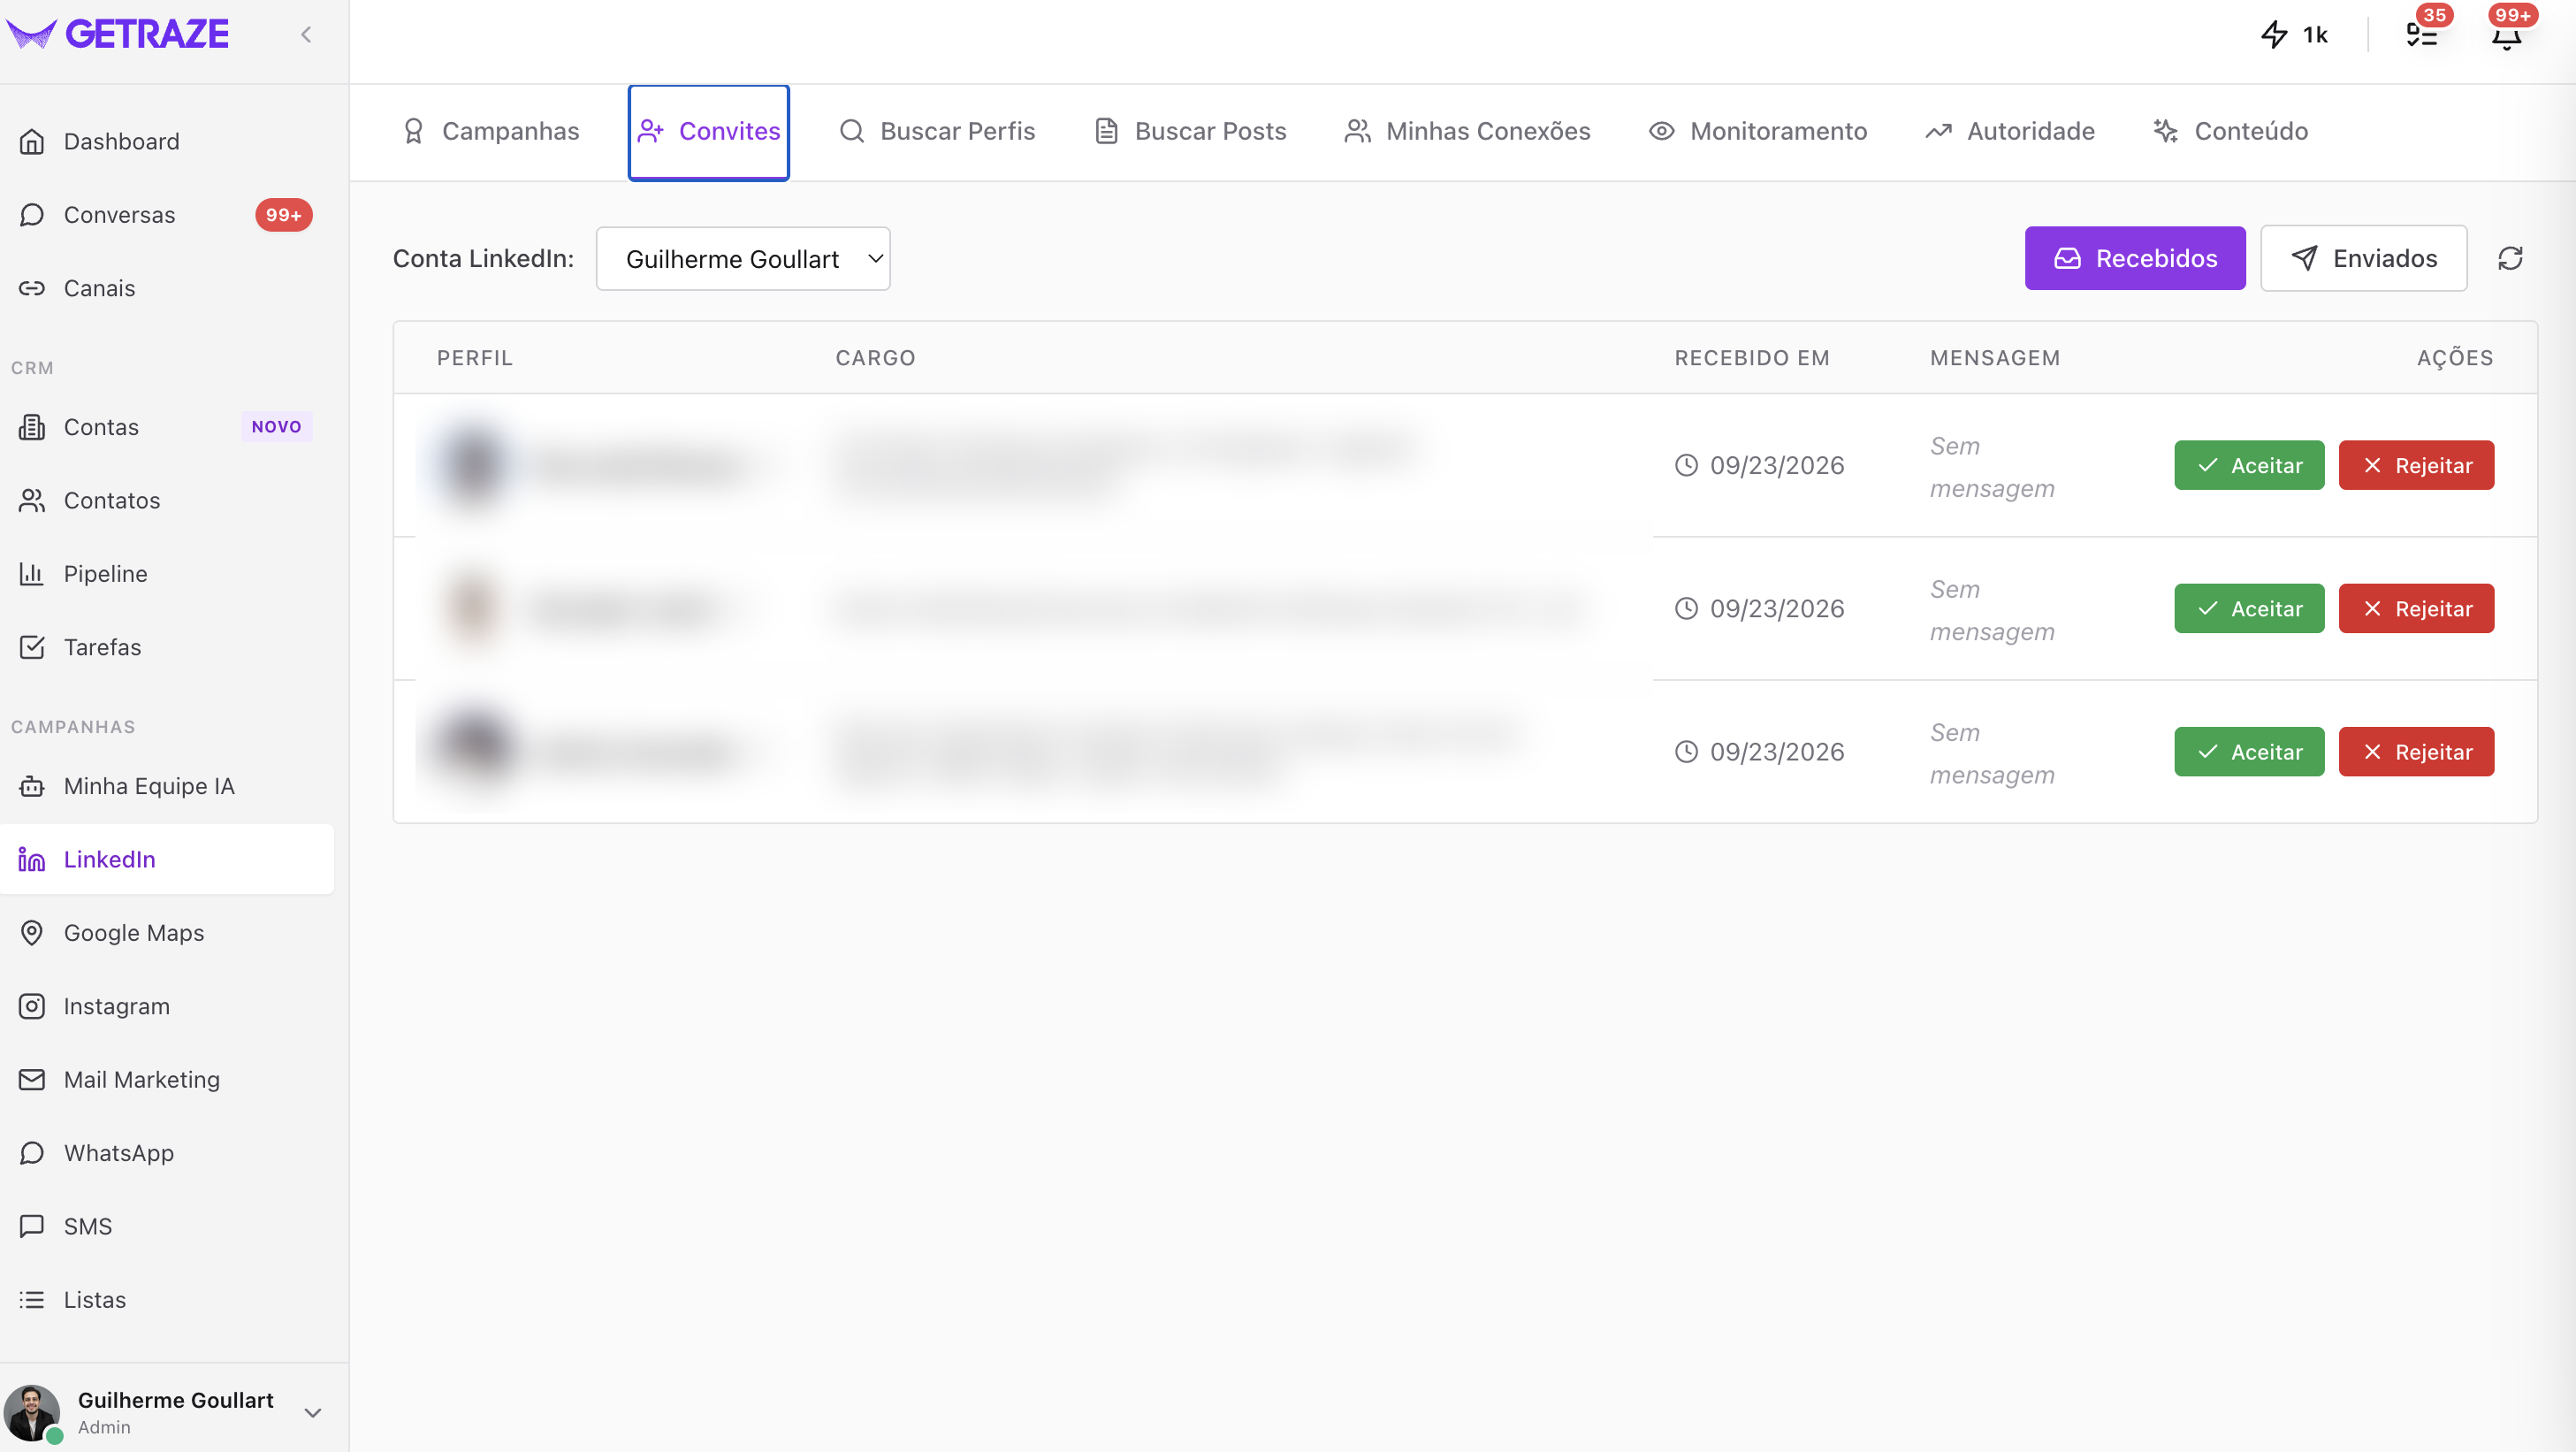
At the top are the two controls that define what you are seeing:
- LinkedIn Account — the selector on the left chooses which account the invitations belong to. If you have more than one connected, switch here to handle each one's invitations;
- Received and Sent — the toggle on the right switches between the two lists.
The refresh icon, next to it, reloads the list with whatever has arrived since you opened the screen.
Received invitations
These are the connection invitations the selected account received. The table shows:
| Column | What it shows |
|---|---|
| Profile | The person who invited you — the icon next to the name opens their LinkedIn profile |
| Position | Their professional title |
| Received at | The date the invitation arrived |
| Message | The note that came with the invitation, or No message when there was none |
Under Actions, for each invitation:
- Accept — the connection is established;
- Reject — the invitation is declined.
💡 The Message column is usually what decides it: an invitation with a note explaining the reason has context; a "No message" from an unknown profile rarely does.
Sent invitations
Switch to Sent to see the invitations the account sent — through campaigns or manually — that are still awaiting acceptance. For any of them, you can:
- Cancel — the invitation is withdrawn and the person no longer sees it as pending.
💡 Canceling stale invitations frees up room in LinkedIn's pending invitation limit. If your campaigns are piling up lots of invitations expiring without acceptance, it is worth cleaning up here.
Next steps
- Track the acceptance rate of your campaigns in the Report;
- If many invitations are expiring without acceptance, review your audience in Find new people — the search sample helps you calibrate the target before spending invites.